


Wondering how to do a patch test for DIY skincare like face serum, moisturizer, toner, sunscreen at home?
If you’ve ever found yourself excited about trying a new skincare product, only to hesitate because you’re unsure how your skin will react, you’re not alone.
Conducting a patch test is a crucial step in introducing new products to your skincare routine, especially when it comes to sensitive areas like your face.
This guide will walk you through the process, ensuring you can enjoy your new products without unwanted reactions.
Why Doing a Patch Test is Essential
Patch testing is crucial for two main reasons:
1. Avoid Adverse Reactions: This simple step can prevent redness, itching, and breakouts.
2. Identify Allergies and Sensitivities: A patch test can help you pinpoint specific ingredients your skin might be allergic to or sensitive to.
Patch Testing For DIY Cosmetics and Essential Oils
For DIY enthusiasts, patch testing is particularly important due to the following reasons:
- High Concentration of Ingredients: DIY skincare products often contain higher concentrations of active ingredients, which can increase the risk of irritation or allergic reactions. Essential oils, in particular, are highly potent and can cause severe reactions if not properly diluted.
- Unknown Ingredient Combinations: When creating your own skincare products, you may be experimenting with new ingredient combinations. Patch testing allows you to see how these combinations affect your skin before applying them to larger areas.
- Lack of Preservatives: Homemade products typically lack preservatives found in commercial products, which can lead to spoilage and increased risk of bacterial contamination. A patch test can help you identify any immediate reactions to the product.
- Custom Formulations: Since DIY products are tailored to your specific preferences and skin type, it’s essential to ensure each new formulation is safe for your skin. Patch testing helps you tweak your recipes by identifying problematic ingredients early on.
- Natural Doesn’t Always Mean Safe: Many people assume that natural ingredients are inherently safe. However, natural substances can still cause allergic reactions. For example, ingredients like lemon juice, cinnamon, or tea tree oil can be irritating in certain concentrations. Also, never formulate with plants or plant materials that you don’t know well. You wouldn’t want a face cream with this…

By incorporating patch testing into your DIY skincare routine, you can enjoy the benefits of custom, homemade products while minimizing the risk of adverse skin reactions. This careful approach ensures that your skincare creations are both effective and safe.
How to Do a Proper Patch Test For DIY Skincare?
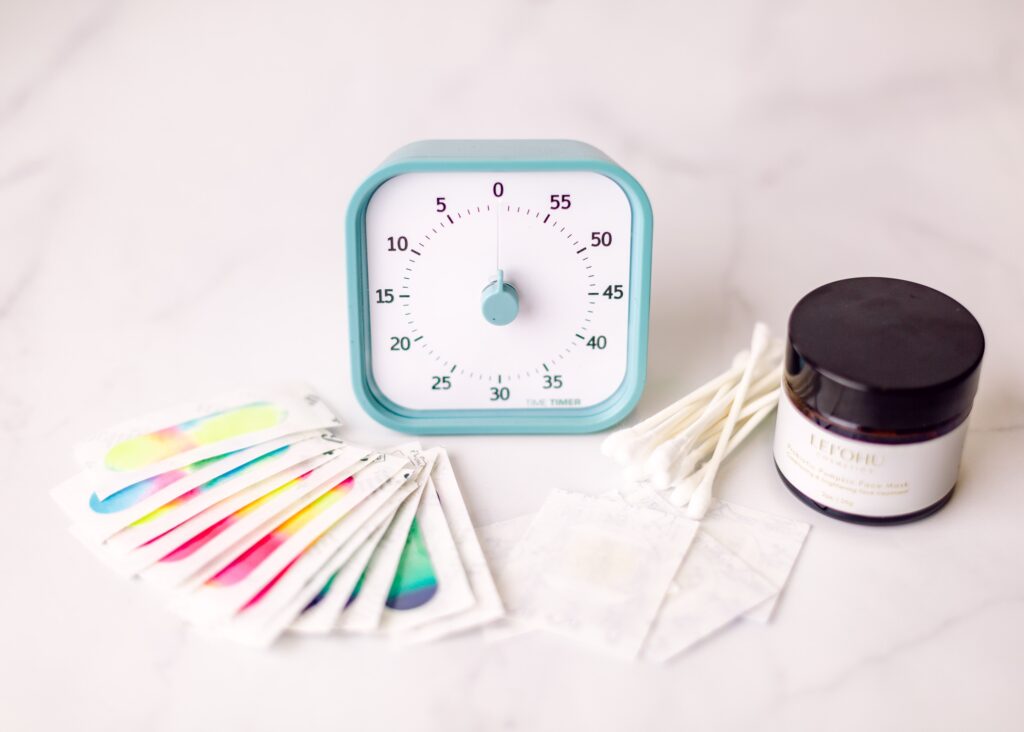
Materials Needed:
- The product you wish to test (face serum, moisturizer, toner, sunscreen, etc.)
- A small, clean area of skin (preferably on your forearm or behind your ear)
- A bandage or medical tape
Steps:
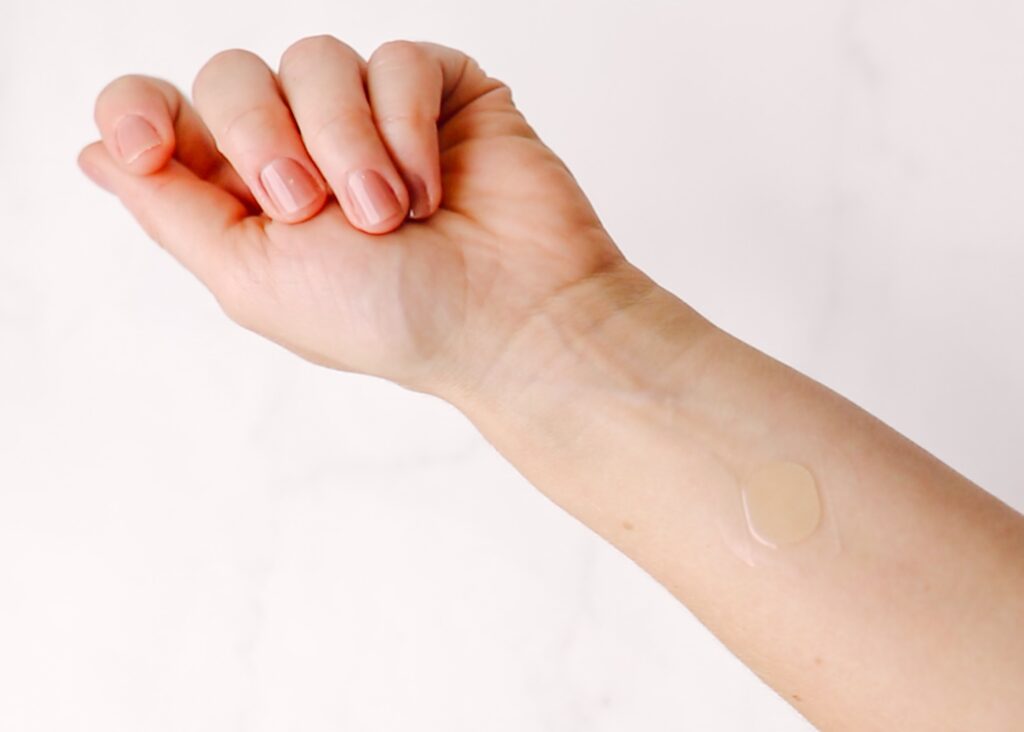
1. Clean the Test Area: Wash and dry a small patch of skin on your forearm or behind your ear.
2. Apply the Product: Dab a small amount of the product onto the test area.
3. Cover It: Use a bandage or medical tape to cover the area.
4. Wait and Observe: Leave the product on for 24-48 hours. Check the area periodically for any signs of reaction, such as redness, itching, or swelling.
Detailed Testing Locations:
- To See If You’re Allergic: Apply the product behind your ear. This area is discreet and the skin is similar to your face in sensitivity.
- To Check for Irritation: Test on an area where your skin is most sensitive, such as your inner arm. This can help you detect any potential irritations.
- To Check for Clogs or Acne: Apply the product to the area where you typically experience breakouts, such as your jawline or forehead. This will help you see if the product causes clogged pores or acne.
Where is the Best Place to Do a Patch Test For DIY Skincare ?
For general skincare products, the forearm is an excellent spot because it’s easy to monitor and less noticeable if a reaction occurs.
Where is the Best Place to Patch Test Face Products?
When testing products specifically for your face, behind your ear or along your jawline are the best spots.
These areas are discreet and can give you an accurate idea of how your facial skin will react without causing visible irritation.
If you worry about clogging your pores, patch test the new product on a small area where you typically experience breakouts.
What Does a Skin Patch Test Show?
A patch test reveals whether your skin has any adverse reactions to a product. Look for signs like:
- Redness
- Itching
- Swelling
- Bumps or blisters
- Dry patches
These symptoms indicate that the product may not be suitable for your skin.
Is Patch Testing For DIY Skincare Worth It?
Absolutely! Patch testing can save you from the discomfort and potential damage of using a product that doesn’t agree with your skin.
It’s a simple, preventive measure that can save time, money, and the frustration of dealing with adverse reactions.
What Not to Do During a Patch Test
- Don’t Skip the Test Area Cleaning: Ensure the test area is clean to avoid contamination.
- Don’t Use Too Much Product: A small amount is sufficient.
- Don’t Test Multiple Products at Once: Test one product at a time to accurately identify any reactions.

- Avoid Bathing and Sweating: Keep the test area dry and avoid activities that may cause sweating, as moisture can interfere with the results
- Don’t Rush the Process: Allow the full 24-48 hours to observe any delayed reactions.
How Long Should You Patch Test For DIY Skincare?
For best results, conduct the patch test over 24-48 hours. This duration allows time for any delayed reactions to surface, ensuring you get a comprehensive understanding of how your skin interacts with the product.
By following these steps for skin patch test, you can confidently introduce new DIY skincare products into your routine, ensuring your skin stays healthy and radiant.
Happy testing!
Disclaimer
This guide is intended for informational purposes only and does not constitute medical advice.
Always consult with a dermatologist or healthcare provider for advice tailored to your specific skin care needs and conditions. For more information on skin care and patch testing, visit the American Academy of Dermatology Association.
CONTINUE YOUR JOURNEY THROUGH Natural Skincare
Explore more Lei ʻohu Cosmetics skincare recipes and embark on a journey to nourish your skin with the lush botanicals of Hawaii.
Check out these popular Lei ʻohu Cosmetics blog posts:
> Lumeria Maui Wellness Retreat
> Ali’i Lavender Maui Beauty Workshop
If you love Hawaii and you enjoy wellness vacation tips, beauty secrets, and DIY recipes, then sign up for my newsletter where I explore different beauty rituals from Hawaii and around the world.
We look forward to welcoming you to paradise soon!

How To Patch Test For DIY Skincare
Highlights:

Book Now
Experience the transformative power of Hawaii's natural botanical ingredients and harness the healing energy of the islands at our DIY cosmetics workshops, where you create your own personalized beauty products.
Reserve your spot today and embark on a fun, rejuvenating journey of self-care and holistic wellness.


